
Reseller guide
How to Take eBay Photos with Just Your Phone
A good eBay photo is a clear, honest picture, and a good photo needs only a phone, daylight and a plain background. Wipe the lens, skip the flash, fill the frame and shoot every side, including labels and flaws. eBay allows up to 24 photos per listing at no extra charge, so use the full allowance.
When someone buys online, the listing photos are the only way the buyer can pick the item up and turn the item over. Clear photos make buyers more comfortable. Blurry, dark or cluttered photos make buyers wonder what the seller is hiding. The good news is that the phone in your pocket is plenty. I have listed lots of items with nothing fancy, just a window, a plain surface and some patience.
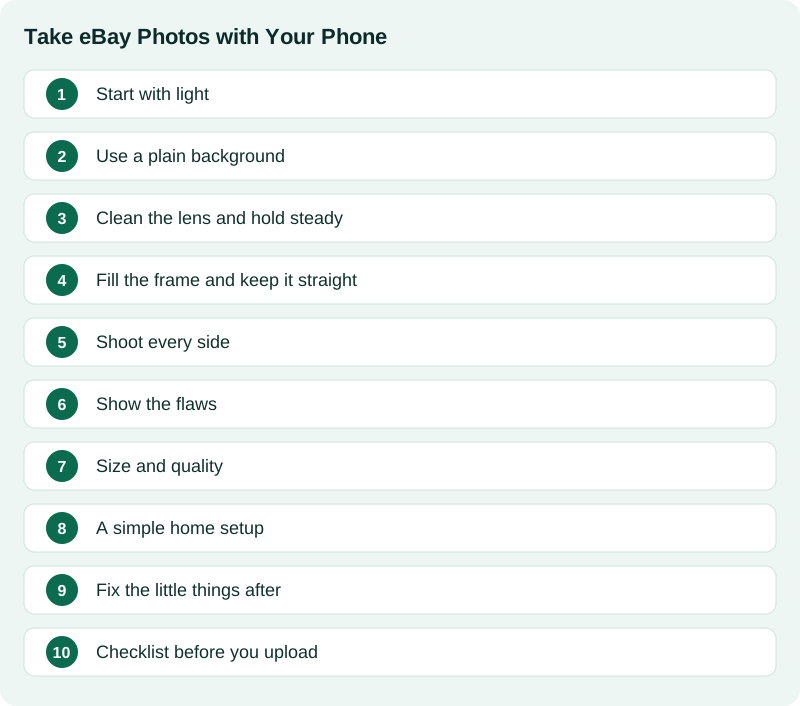
Start with light
Light matters more than the camera. The easiest light is free: daylight near a big window. Set the item on a table beside the window and let the light fall softly across the front of the item.
- Avoid direct harsh sun, which makes shiny items glare and creates dark shadows.
- Skip the flash. Flash flattens detail and bounces off glass, plastic and metal.
- If the room is dark, use a couple of bright lamps with the same color of bulb, one on each side.
- Check that your own shadow is not covering the item.
Use a plain background
A clean, simple background keeps the buyer looking at the item. A white or light gray sheet of poster board, a bedsheet pulled tight, or a plain tabletop all work. Clutter behind the item makes the item harder to see and can look careless.
eBay asks for a clean main photo, and some categories have extra picture rules, so reading eBay's photo policy for the kind of item you sell is worthwhile. A plain background is a safe choice nearly everywhere.
Clean the lens and hold steady
A smudged phone lens is the most common reason for a hazy photo. Wipe the lens with a soft cloth before you start. Then hold the phone steady. Rest your elbows on the table, or use a cheap tripod or a stack of books. Tap the screen on the item so the phone focuses where it matters.
Fill the frame and keep it straight
Get close enough for the item to fill most of the picture, but leave a little room around the edges so nothing is cut off. Keep the phone level and square to the item. Photos taken at a tilt can make a flat item look crooked.
Hold the phone sideways for wide items and upright for tall ones, and stay consistent. Do not use filters or heavy editing. The goal is for the item to look like it does in real life.
Shoot every side
eBay lets you add up to 24 photos to a listing at no extra charge, so use the extra space. A good set often includes:
- A clear front shot as the main photo.
- Back, sides, top and bottom.
- Labels, tags, maker's marks and model numbers.
- Close ups of any flaws, wear, scratches, stains or repairs.
- The item next to a coin or ruler so buyers can judge the size.
- Anything included in the sale, such as cords, boxes or accessories.
- For books, the cover, spine, title page, copyright page and any damage.
Show the flaws
Showing flaws saves you trouble. If an item has a scuff, a chip or a stain, photograph it up close and mention it in the description. Buyers who see the flaw before they buy are far less likely to be upset or ask for a refund. Honest photos also protect the seller if a dispute comes up. Hiding a problem never ends well.
Size and quality
eBay recommends large photos so buyers can zoom in. The minimum is small, but bigger is better, and around 1,600 pixels on the longest side is a good target. Most modern phones take photos far bigger than that, so just leave your camera on its normal quality setting.
Do not put text, borders, watermarks or logos on your pictures, and do not use pictures you did not take unless the item is new and the stock photo is allowed. For used items, use photos of your actual item. Buyers want to see the one they are getting.
A simple home setup
You do not need to buy anything, but a few cheap things help:
- A sheet of white or light poster board, or a plain sheet taped to a wall and curved onto the table.
- A small tripod or phone stand.
- Two matching lamps for evenings and winter.
- A soft cloth for the lens and a lint roller for fabric.
Leave the setup in one spot so you can shoot item after item without rebuilding the setup. Keeping one setup is also how a seller moves fast. The staged approach comes back in how to list 50 items in one afternoon.
Fix the little things after
Before you upload, glance through the photos. Delete the blurry ones. Put the best, clearest shot first, since that is the one that shows in search results. If a photo is slightly dark, a quick brightness change is fine. If the background is messy, you can crop it or use a background removal tool.
Checklist before you upload
- Lens wiped, daylight or matching lamps, no flash.
- Plain background, item centered and filling the frame.
- Front, back, sides, labels, flaws and included extras all covered.
- Something in the shot for scale, if size matters.
- No filters, text or borders.
- Best photo first.
Photos help a listing, but they do not replace an honest title and description. Say what the item is and what is wrong with it, and let the pictures back that up.
In Listing Ventures AI, I added optional background cleanup for photos, so a messy table behind the item does not have to stop a listing. You keep your original photos, and you choose whether to use the cleaned up version. You can try it free on a few items. For help with the words that go with your photos, read how to write an eBay title that gets found.
Sources
Official pages this guide relies on. Rules and fees change, so check them before you list.
- eBay Help: Adding pictures to your listings (eBay). Photo count, size and quality guidance.
- eBay Help: Picture policy (eBay). What is not allowed in listing photos: borders, added text and watermarks.
- Apple Support: Use iPhone camera tools to set up your shot (Apple). How to tap to set focus and turn on the grid and level lines on an iPhone.