
Reseller guide
Storage Unit or Estate Sale Haul: Where to Start
The way to start on a storage unit or estate sale haul is to photograph the whole haul as found, sort the items quickly into four piles, and list the easy wins first. Check sold prices before deciding where each item should sell, and group low-value items into lots instead of listing each one.
The first look at a big haul is exciting for about ten minutes. Then the sheer amount sinks in: boxes, bins, furniture, bags, things you cannot name. Trying to deal with everything at once leads to a stall. I have stood in that spot, and what got me through was a plan that starts small and gets the easy wins out the door first.
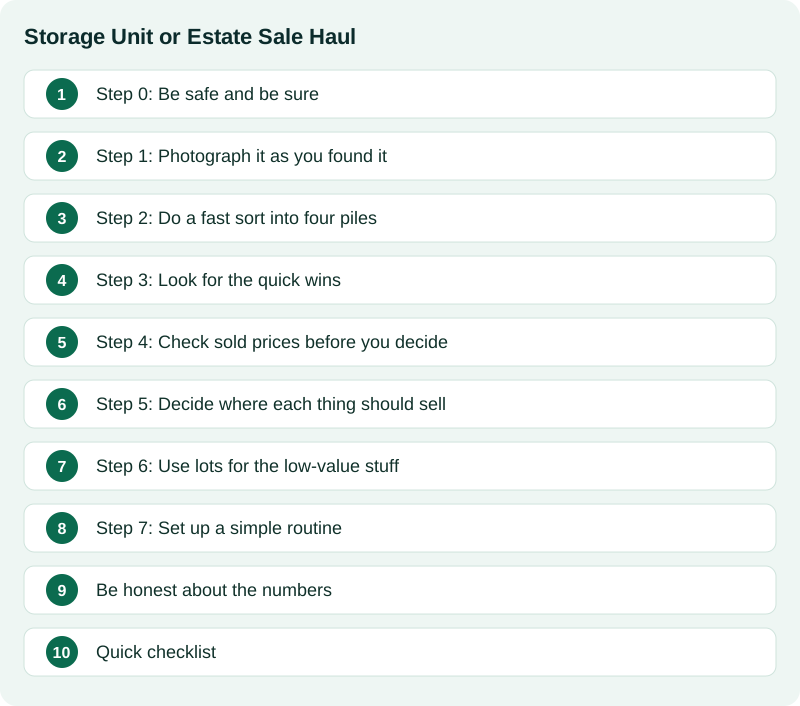
Step 0: Be safe and be sure
Before you sort anything, take care of the basics.
- Wear gloves and sturdy shoes, and lift with your legs. Old boxes can be heavy, damp or full of dust.
- Watch for mold, pests and anything that smells wrong. Throw out what is unsafe instead of carrying it home.
- Make sure you actually have the right to sell what you bought. If something belongs to a family member, a friend or a past owner who never agreed to the sale, set it aside and sort it out first.
- Be careful with personal papers, photos, IDs and anything with private information. Do not sell or toss personal papers, photos or IDs casually.
Step 1: Photograph it as you found it
Take a few quick wide photos before you move anything. Wide photos help you remember what came from where, and the photos can show how an item was stored if you ever need to. Taking the photos takes five minutes, and then you can move on.
Step 2: Do a fast sort into four piles
Do not research yet. Just sort by gut into four groups:
- Likely worth listing. Brand names, collectibles, books and media, tools, working electronics, jewelry, toys, kitchenware with a known maker, anything vintage that looks interesting.
- Maybe. You are not sure. Put it in a box labeled Maybe and move on.
- Donate or give away. Usable things with little resale value.
- Trash or recycle. Broken, damaged or unsafe items.
A common mistake is to spend an hour on one weird item in the first week. Keep the sort moving instead.
Step 3: Look for the quick wins
In your likely pile, find easy-to-identify, easy-to-ship items with likely buyers. A branded item with a clear model number is a better first listing than a mystery object with no markings. Quick wins build momentum and bring in cash while you dig through the harder boxes.
Look for maker's marks, labels, tags, stamps and model numbers. Check the bottom of ceramics and glass, the inside of clothing, the back of electronics and the copyright page of books.
Step 4: Check sold prices before you decide
Pick the best-looking items from the likely pile and look up what similar ones actually sold for, not what people are asking. I explain my method in how to price vintage books for eBay, and the same idea works for most categories.
You will quickly learn the split. Some things that look valuable sell for little, and some plain-looking things sell well. Let the sold results decide what moves up the pile and what goes to a lot or the donate box.
Step 5: Decide where each thing should sell
Not everything belongs on eBay. Small, shippable, collectible or niche items usually do well there. Big, heavy or bulky things, like furniture, often make more sense locally, where buyers can pick them up. I break down that choice in eBay vs Facebook Marketplace: what to sell where.
Step 6: Use lots for the low-value stuff
Ten cheap items listed one at a time can cost more in time than the items earn. Group similar low-value things into a lot instead: a bundle of paperbacks, a set of mixed screwdrivers, a box of costume jewelry. Describe what is in the lot honestly, photograph it clearly, and move on.
Step 7: Set up a simple routine
The haul will take weeks, not days. A routine beats a big push that burns you out.
- Pick a block of time each week for sorting and a block for listing.
- Work one box or one category at a time and finish it before starting another.
- Label bins by status: To photograph, Listed, Sold and waiting to ship, Done.
- Keep a simple record of what you paid for the lot and what each sale brings in, so you know where you stand.
When you are ready to list in bigger batches, I wrote down how I run big batches in how to list 50 items in one afternoon.
Be honest about the numbers
Not every haul pays off. Some are great, some break even, and some lose money, especially once you count your time, storage and trips to the dump. Do not count on a particular result. Keep your costs low, sell the good things first, and be willing to donate or discard what is not worth the effort. Treat each haul as a lesson in what to buy next time.
Quick checklist
- Stay safe and make sure you can legally sell it.
- Take wide photos before you move things.
- Sort fast into list, maybe, donate and trash.
- Start with easy-to-identify, easy-to-ship items.
- Check sold prices before you decide.
- Pick the right place to sell each thing.
- Group low-value items into lots.
- Work a steady weekly routine.
The advice in this guide comes from my own experience. Rules for storage unit auctions, estate sales and certain items vary, so check the terms of your purchase and any local laws that apply.
The slowest step on big hauls was turning each item into a listing. The slow listing step is why I built Listing Ventures AI: you add photos of an item and get a drafted title, description and price guidance based on sold listings, which you review and edit. You can try it free on a few items from your own pile.
Sources
Official pages this guide relies on. Rules and fees change, so check them before you list.
- CPSC: Resellers Guide to Selling Safer Products (U.S. Consumer Product Safety Commission). Why you check recalls before you list, and which used items you cannot sell.
- eBay Help: Prohibited and restricted items (eBay). Items eBay does not allow, or allows only with conditions.